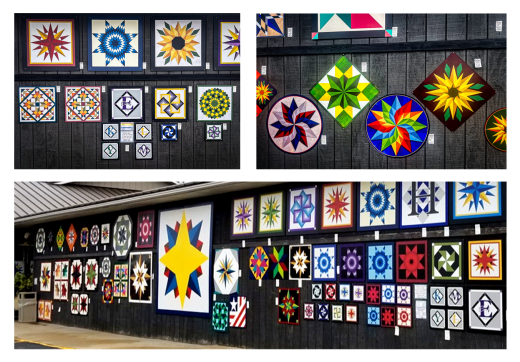
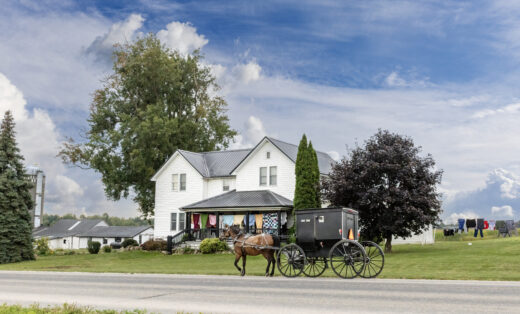
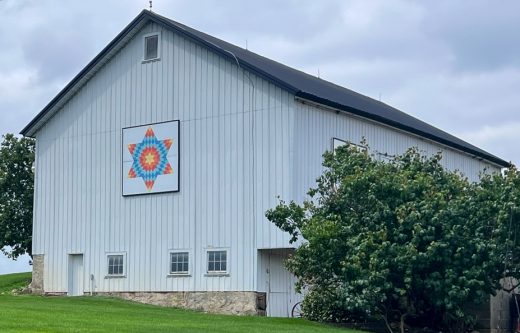
Driving the scenic country backroads of Northern Indiana, you’ll likely see Barn Quilts adorning historic barns, family homesteads, Amish farms, and public spaces. Similar in design to fabrics quilts, traditional Barn Quilts are constructed using wood, and painted with heirloom or newly designed quilt patterns chosen by the owner or artist. Barn Quilts are either geometric patterns, or a geometric pattern with an image in the center, such as a flower, or horse. There are various sizes available, and the size chosen is determined by the size of the location where it will be displayed, and how large it will need to be in order to be easily visible to passers-by.
Visitors to Shipshewana should make their first stop the Visitor’s Center to pick up the Off the Beaten Path brochure containing a map and guide showing where the Barn Quilts are on display throughout LaGrange County, as well as all the fun stops along the way that could include produce stands, country restaurants, Amish cottage shops, nature trails, buggy rides, and so much more. The newly expanded Barn Quilt Trail will boast over 80 Barn Quilts, in total.
Barn Quilt Artist and Project Manager Karen Weiland has shared a handy How-To Guide for anyone that wants to try their hand at their own Barn Quilt:
HOW TO PAINT YOUR BARN QUILT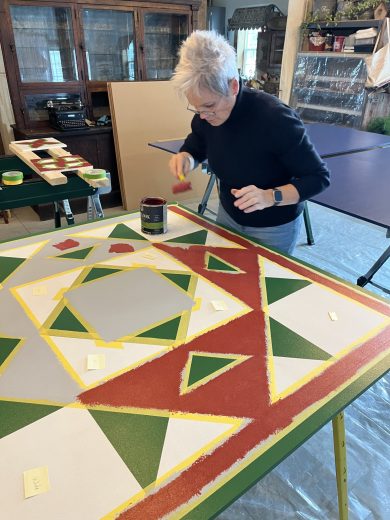
Materials you will need:
Exterior latex house paint in the colors of your choice
Exterior primer
Painting tape
Straight edge razor
Small rollers, brushes or foam applicators
Instructions:
Apply two coats of primer to the board including the edges.
Determine which color you want to use first. I like to start with the lightest color in the pattern, then if there is any leakage or bleeding under the tape, three coats of a darker color on an adjoining piece will cover it up.
Tape off those pattern pieces using the straight edge razor to cut the end of the tape. Place the tape precisely on the line, but when taping over paint, allow a very slight edge of paint to show. A second paint color will overlap this slight bit to ensure that all of the primed area is covered with paint. Tape must be pressed down firmly on the edge as paint can leak under the tape. Trust me on this one! Good taping is essential to a well painted barn quilt. Some touch-up can be done along the lines/edges after all the painting has been finished. Do not remove the tape until the last coat of paint for that piece has dried.
Apply three coats of each color, allowing the designated time to dry between each coat. This time can be found on the instruction panel on the back of the paint can. Paint needs to dry thoroughly before painting tape should be applied to it.
Give the sides/edges of the board at least 3 coats of paint.
I do not recommend using a sealer as a person does not seal the exterior paint of their house. If you do choose to use a sealer, be aware that some will cause a yellowing of light colored paint.
Finally, hang and enjoy!
Remember, if building and painting a Barn Quilt isn’t your thing, there are other options! You’ll find several places in Shipshewana where you can purchase all sizes and types of Barn Quilts. Try Eash Sales for options made of wood or metal, various sizes, and either pre-painted, or you can work with them for a custom order.
